Step-by-Step Guide: Adding Google Maps to Your React App Using Vis.gl
Easily integrate Google Maps into your React application with this hands-on tutorial.
Expert Frontend Engineer and Product Designer with 3+ years of experience. Always learning new skills and exploring the latest tech trends. Currently available for full-time roles and freelance gigs.
Have you ever felt overwhelmed integrating the Google Maps API into a React project for the first time? Well, I definitely have! Choosing the right library can be daunting, especially when you need specific features like dynamic markers and location search.
In this article, you’ll see a simple example of how to integrate Google Maps into a React project. However, we’ll start by discussing why you might want to do so and some advanced Google Maps features you can use. If you prefer, you can jump ahead to the tutorial — make sure to check out the demo project’s source code as well.
Using Google Maps in React
There are a number of reasons why you may choose to integrate Google Maps into your React app. We’ll be taking a look at one of the most popular ones. You can use them as a base for other, more complex cases if you desire.
Enhanced User Experience (UX): Google Maps is a familiar and user-friendly platform for visualizing locations. Integrating it into your React app allows users to easily explore geographical data, navigate places of interest, and understand spatial relationships.
Location-based Functionality: Google Maps unlocks a wide range of location-based functionalities for your React app. You can display user locations, track deliveries, visualize sales data on a map to identify trends, or even create real-time route planning and navigation features.
Increased Engagement: Interactive maps are inherently engaging. Users can zoom in and out, explore different map views, and discover new information. This interactivity can keep users engaged with your application for longer periods.
Data Visualization: Google Maps can be a powerful tool for data visualization. You can use markers, heatmaps, and polylines to represent various types of data on a map, allowing users to gain valuable insights from geographical patterns.
React Google Maps
For React developers, like myself, seeking a first-party solution for integrating Google Maps, the vis.gl/react-google-maps library stands out as a compelling choice. This official offering from the Google Maps Platform team simplifies the process of adding interactive maps to your React application.
It was first provisioned by the Google Maps Platform team, in order to provide solid integrations between React and the Maps JavaScript API. The design of vis.gl/react-google-maps draws inspiration from the successful integration between react-map-gl and the map renderers based on mapbox-gl-js.
It's important to note that vis.gl/react-google-maps requires a valid Google Maps Platform API key for functionality. Additionally, while the library offers a decent set of core components, developers may need to interact directly with the underlying Google Maps JavaScript API for more advanced use cases.
Although vis.gl/react-google-maps is a compelling choice for integrating Google Maps with React, it's important to acknowledge that other popular libraries exist. One such alternative is google-maps-react, offering a familiar approach for developers accustomed to working with Google Maps APIs.
Regardless of which library you select, make sure it aligns with your project's requirements and your development preferences. In this article, you'll focus on using vis.gl/react-google-maps for consistency.
Get Started
Prerequisites:
- Node.js and npm (or yarn) installed on your system.
Project Setup:
Create a React project with Vite:
 npm create vite@latest react-google-maps-demo -- --template react-ts
 cd react-google-maps-demo
This command creates a new React project with TypeScript support using Vite, a modern build tool.
Install Dependencies:
npm install @vis.gl/react-google-mapsThis installs the
vis.gl/react-google-mapslibrary, allowing you to integrate Google Maps into your React application. This module comes with full TypeScript-support out of the box, so no additional module is required for the typings.(Optional) Install Tailwind CSS:
 npm install -D tailwindcss postcss autoprefixer
 npx tailwindcss init -p
If you plan to use Tailwind CSS for styling, follow these steps to install and configure it. Remember to configure your Tailwind configuration file (
tailwind.config.js) according to your project's needs.Start the development server:
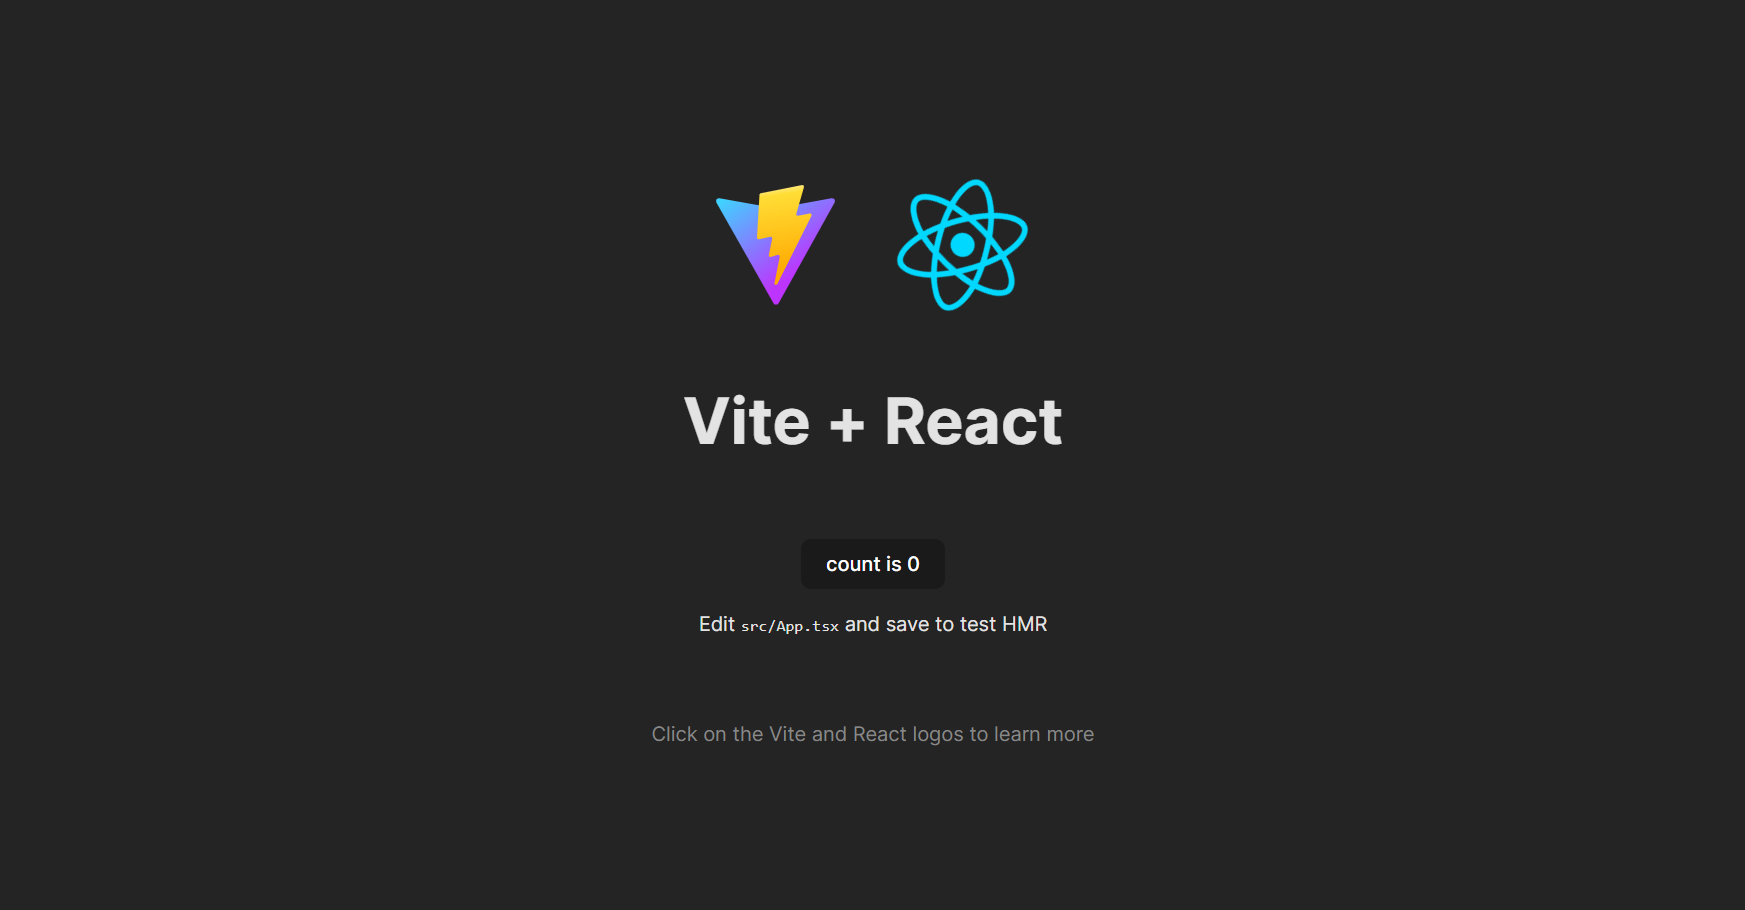
npm run devThis command starts the development server and opens your application in the browser:
Obtaining Google Maps API key
To use Google Maps features within your React application, you'll need to obtain an API key from the Google Cloud Platform (GCP). They have several API’s to use with the Maps API but for now, you’ll need just the Maps Javascript API to get started for the map. So ensure that the Maps Javascript API is enabled in your console.
Steps to Acquire an API Key:
Create or Access a GCP Project: If you don't have an existing project, create one on the GCP Console.
Enable Required APIs: Navigate to the "APIs & Services" section in the Google Maps Platform and enable the following APIs for your project:
- Maps JavaScript API
Create an API Key: In the "Credentials" section of the Google Maps Platform, create a new API key. Consider restricting this key to only allow usage for your specific project for better security.
Never commit your API key to a public repository like Github. Instead, create a .env.local file in your project's root directory and add the following line, replacing <your API key here> with your actual key:
VITE_REACT_GOOGLE_MAPS_API_KEY=<your API key here>
Displaying a Basic Map
In this section, I'll walk you through rendering a simple Google Map in your React application using vis.gl/react-google-maps.
Import Necessary Components:
import { APIProvider, Map } from '@vis.gl/react-google-maps';You import the
APIProviderandMapcomponents from the library.Set Up the
AppComponent:const App = () => ( <APIProvider apiKey={import.meta.env.VITE_REACT_GOOGLE_MAPS_API_KEY}> <Map style={{ width: '100vw', height: '100vh' }} defaultCenter={{ lat: 22.54992, lng: 0 }} defaultZoom={3} gestureHandling={'greedy'} disableDefaultUI={true} /> </APIProvider> ); export default App;The
APIProvidercomponent wraps theMapcomponent and provides the necessary context and functionality for using Google Maps within your React application. It requires your API key as a prop.The
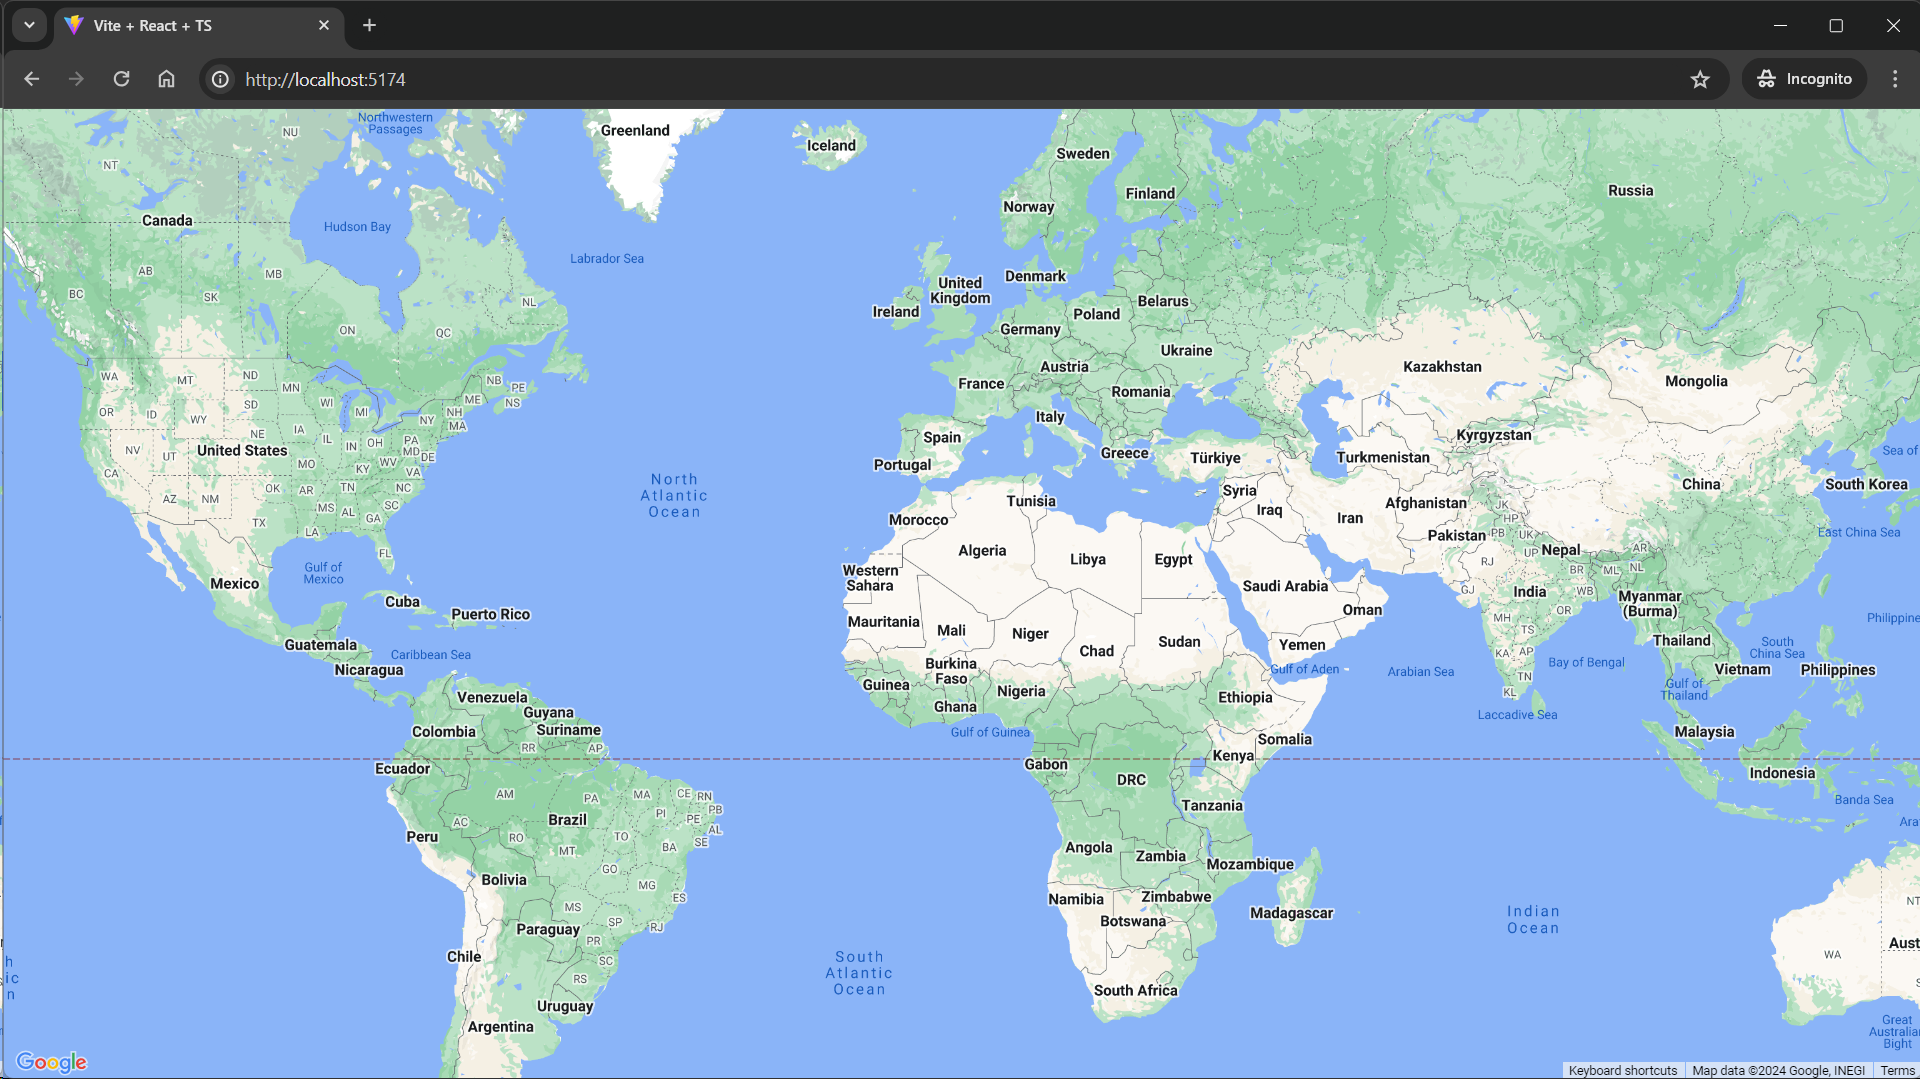
Mapcomponent itself defines the map element. You configure its appearance and behavior using props:style: Sets the width and height of the map container.defaultCenter: Specifies the initial location of the map using latitude and longitude coordinates (here, centered near the equator).defaultZoom: Defines the initial zoom level (a higher value represents a closer view).gestureHandling: Controls how the map interacts with user gestures like touch or panning. Here,'greedy'prioritizes map interactions over page scrolling.disableDefaultUI: Removes the default user interface elements provided by Google Maps (zoom controls, map type options, etc.).
View the Map:
With these components in place, our application should render a basic interactive map.
Adding InfoWindows and Markers
InfoWindows
The InfoWindow component is a part of the Google Maps API provided by the @vis.gl/react-google-maps package, which allows you to create information windows on the map. Information windows are pop-up windows that appear above the map at a specific location and provide additional information about a particular point of interest.
The InfoWindow component is used as a child component within the Map component. It takes several props, but the most important one is position, which specifies the geographic coordinates (latitude and longitude) where the info window should be displayed on the map.
The code snippet below demonstrates how to add an InfoWindow with the content "Hello World!" positioned at specific coordinates:
import { APIProvider, InfoWindow, Map } from "@vis.gl/react-google-maps";

const App = () => (
  <APIProvider apiKey={import.meta.env.VITE_REACT_GOOGLE_MAPS_API_KEY}>
    <Map
      style={{ width: "100vw", height: "100vh" }}
      defaultCenter={{ lat: 53.54992, lng: 10.00678 }}
      defaultZoom={13}
      gestureHandling={"greedy"}
      disableDefaultUI={true}
    >
      <InfoWindow position={{ lat: 53.54992, lng: 10.00678 }}>
        Hello World!
      </InfoWindow>
    </Map>
  </APIProvider>
);

export default App;
With these components in place, our application should render a map with an information window saying "Hello World!".

Marker
The Marker component is a part of the Google Maps API provided by the @vis.gl/react-google-maps package, enabling you to place markers on the map to indicate specific points of interest or locations.
While InfoWindows provide details, markers visually represent points of interest on the map. You can use the Marker component from vis.gl/react-google-maps to add markers. The usage is similar to InfoWindows, with a position prop and optional customization options like icons.
The code snippet below demonstrates adding a basic marker at specific coordinates:
import { APIProvider, Map, Marker } from "@vis.gl/react-google-maps";

const App = () => (
  <APIProvider apiKey={import.meta.env.VITE_REACT_GOOGLE_MAPS_API_KEY}>
    <Map
      style={{ width: "100vw", height: "100vh" }}
      defaultCenter={{ lat: 53.54992, lng: 10.00678 }}
      defaultZoom={12}
      gestureHandling={"greedy"}
      disableDefaultUI={true}
    >
      <Marker position={{ lat: 53.54992, lng: 10.00678 }} />
    </Map>
  </APIProvider>
);

export default App;
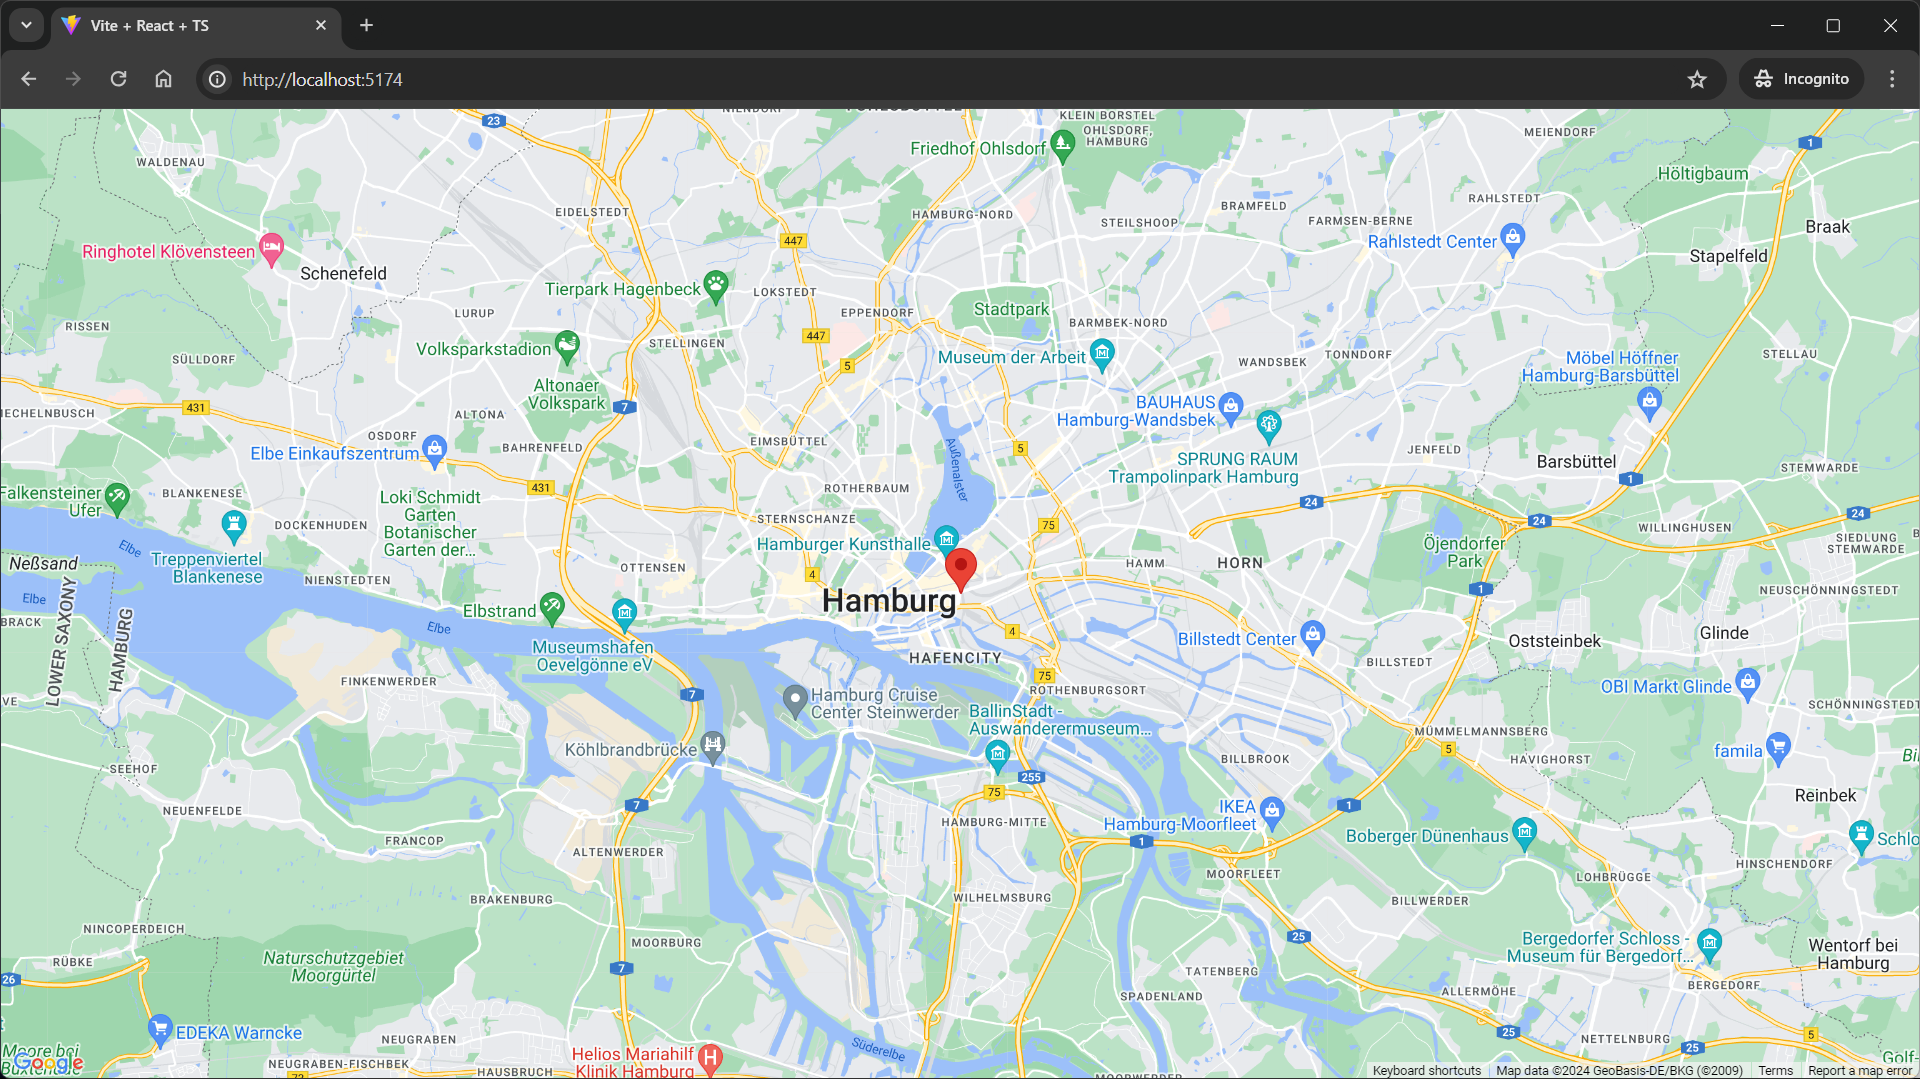
With our components in place, our application should render a map with a single marker. You can also render multiple markers if you need.
Advanced Markers
The AdvancedMarker component provides a more customizable alternative to the standard Marker component.
The AdvancedMarker component allows for extensive customization of the marker's appearance and behavior. You can apply custom styles, including complex layouts, backgrounds, borders, and shadows, to the marker using JSX/TSX, CSS classes or inline styles.
To use the AdvancedMarker component, it is necessary to add a custom mapId to the map options. The mapId prop in the Map component specifies the ID of the Google Map being rendered. This prop is particularly useful when working with styled maps or when multiple maps are present on the same page.
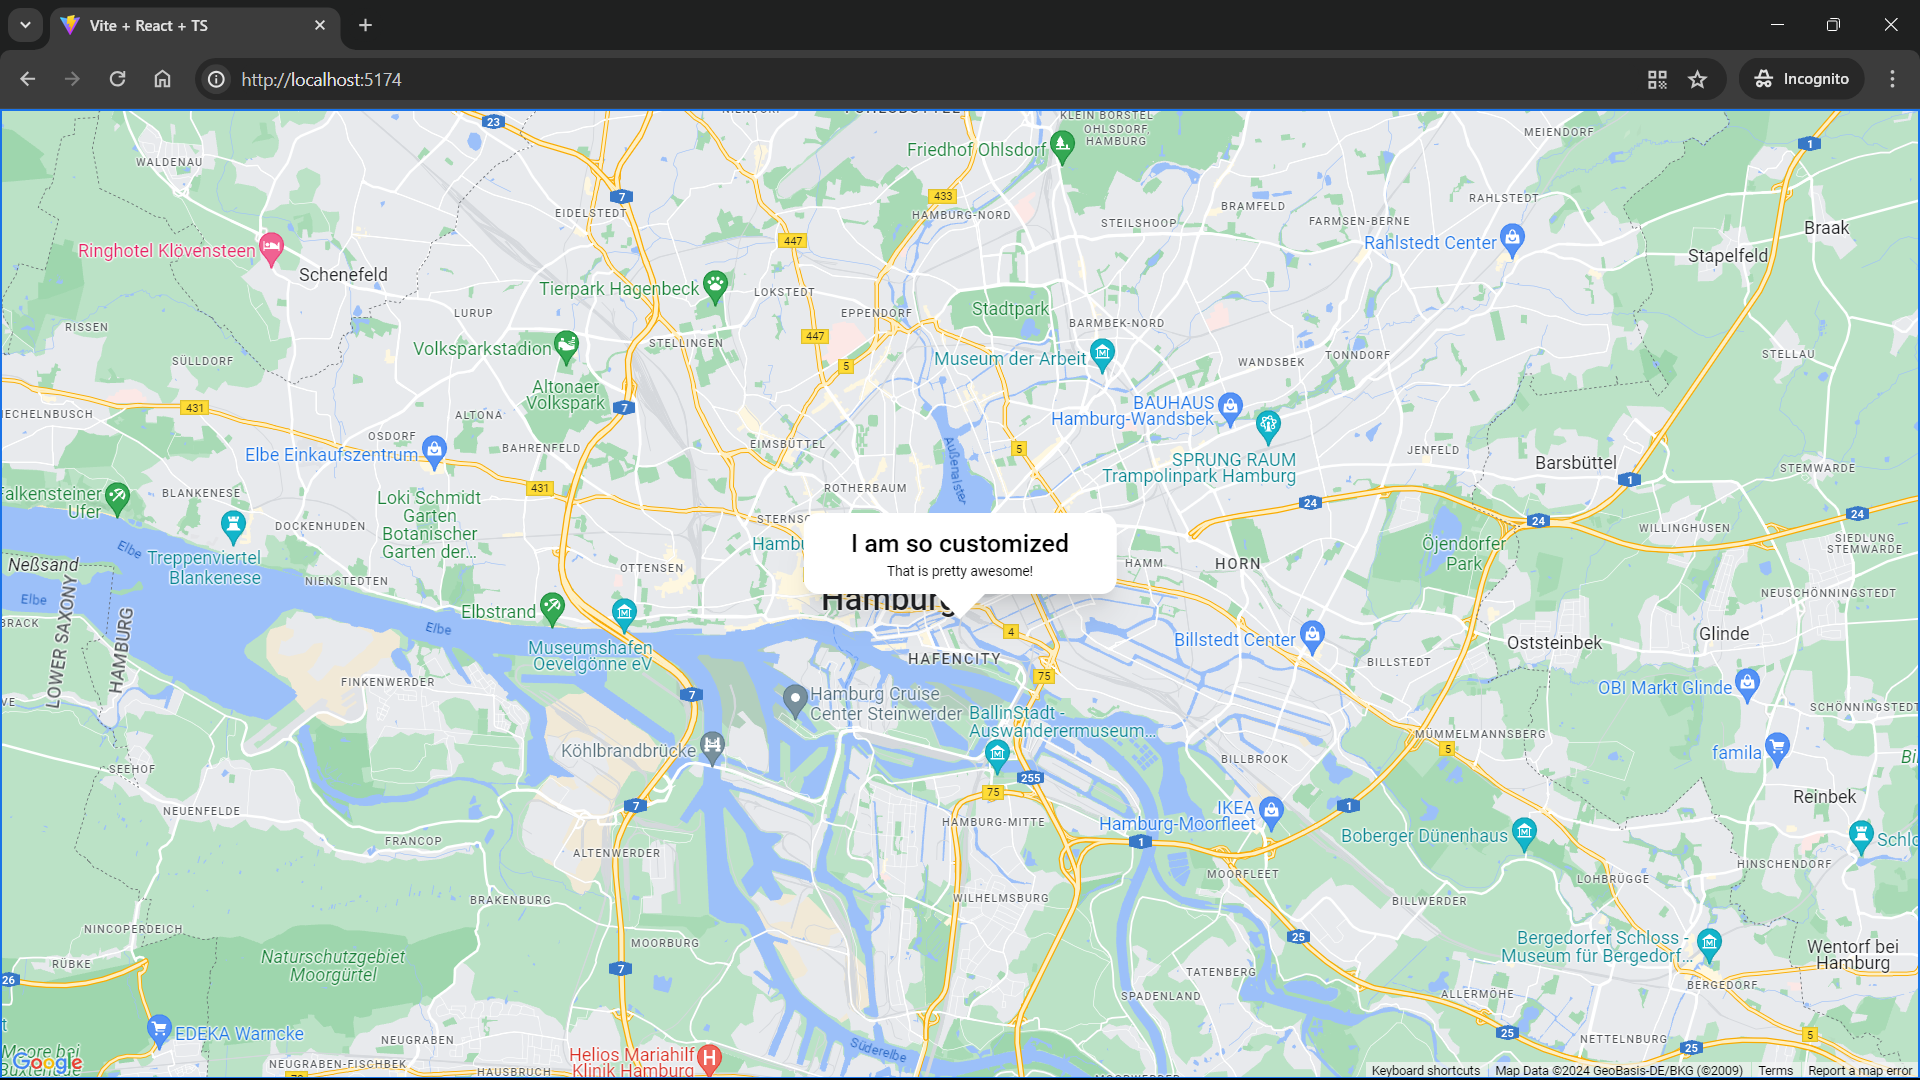
This example renders an AdvancedMarker with custom styles and an SVG element:
import { APIProvider, AdvancedMarker, Map } from "@vis.gl/react-google-maps";

const App = () => (
  <APIProvider apiKey={import.meta.env.VITE_REACT_GOOGLE_MAPS_API_KEY}>
    <Map
      style={{ width: "100vw", height: "100vh" }}
      defaultCenter={{ lat: 53.54992, lng: 10.00678 }}
      defaultZoom={12}
      gestureHandling={"greedy"}
      disableDefaultUI={true}
      mapId={import.meta.env.VITE_MAP_ID}
    >
      <AdvancedMarker
        position={{ lat: 53.54992, lng: 10.00678 }}
        className="w-[250px] bg-white flex flex-col items-center gap-1 py-3 px-3 rounded-xl shadow-xl"
      >
        <h2 className="text-[20px] font-medium">I am so customized</h2>
        <p>That is pretty awesome!</p>

        <svg
          className="absolute text-white h-10 w-full left-0 top-full"
          x="0px"
          y="0px"
          viewBox="0 0 255 255"
          xmlSpace="preserve"
        >
          <polygon
            className="fill-current shadow-lg"
            points="0,0 127.5,127.5 255,0"
          />
        </svg>
      </AdvancedMarker>
    </Map>
  </APIProvider>
);

export default App;
The result should look like this:
React Google Maps Hooks
The useMap() and useMapLibrary() hooks are part of the vis.gl/react-google-maps package, which provides React hooks for integrating Google Maps functionality into a React application.
useMap()
The useMap() hook allows you to access and interact with the Google Map instance within your React component. It provides a way to interact with the map programmatically, such as changing the map's center, zoom level, or adding markers dynamically.
Example Usage:
import { useMap, APIProvider, Map } from '@vis.gl/react-google-maps';

const MyComponent = () => {
  const map = useMap();

  // Access and manipulate the map instance
  useEffect(() => {
    // Set the map's center and zoom level
    map.setCenter({ lat: 53.54992, lng: 10.00678 });
    map.setZoom(12);
  }, [map]);

  return (
    <APIProvider apiKey={import.meta.env.VITE_REACT_GOOGLE_MAPS_API_KEY}>
     <Map
       style={{ width: '100vw', height: '100vh' }}
       gestureHandling={'greedy'}
       disableDefaultUI={true}
     />
   </APIProvider>
  );
};
useMapLibrary()
The useMapLibrary() hook allows you to access additional libraries provided by the Google Maps JavaScript API, such as the Places API, Geoloction API, e.t.c. It provides a way to load and use these libraries dynamically within your React component.
Example Usage:
import { useMap, APIProvider, Map } from '@vis.gl/react-google-maps';

const MyComponent = () => {
  // triggers loading the places library and returns true once complete (the
  // component calling the hook gets automatically re-rendered when this is
  // the case)
  const map = useMap();
  const placesLib = useMapsLibrary('places');
  const [placesService, setPlacesService] = useState(null);

  useEffect(() => {
    if (!placesLib || !map) return;

    setPlacesService(new placesLib.PlacesService(map));
  }, [placesLib, map]);

  useEffect(() => {
    if (!placesService) return;

    // ...use placesService...
  }, [placesService]);

  return (
    <APIProvider apiKey={import.meta.env.VITE_REACT_GOOGLE_MAPS_API_KEY}>
     <Map
       style={{ width: '100vw', height: '100vh' }}
       gestureHandling={'greedy'}
       disableDefaultUI={true}
     />
   </APIProvider>
  );
};
Conclusion
Hopefully, this article has equipped you with the foundation to integrate Google Maps into your React applications using vis.gl/react-google-maps. We've covered:
Setting up a React project with the necessary dependencies.
Obtaining a Google Maps API key for map interactions.
Rendering a basic map with initial configuration options.
Adding interactive elements like markers and info windows for points of interest.
Using
AdvancedMarkerfor better marker customization.Leveraging map hooks (
useMapanduseMapLibrary) for programmatic control and additional map libraries integration.
By effectively combining the power of Google Maps with the flexibility of React and the utilities provided by vis.gl/react-google-maps, you can create dynamic and informative map experiences within your React applications.
It's really important to consider error handling mechanisms in your React applications, especially when interacting with external APIs like Google Maps.
vis.gl/react-google-maps library is currently in its alpha phase. This means it's still under active development, and features or behaviors might change in future releases. Be prepared for potential issues and occasional breaking changes.This is just the beginning! The Google Maps Platform offers a vast array of functionalities beyond what we've covered here. Explore the official Google Maps documentation to learn more about features like geocoding, directions, and more. Also, the vis.gl/react-google-maps library offers more components like MapControl and Pin, and other hooks like the useApiIsLoaded() and useApiLoadingStatus() hooks. You should refer to their documentation to learn how they work. Another resource I recommend you to check out is this Youtube Playlist from the Google Maps Platform team.
While vis.gl/react-google-maps is still in its early stages, I believe it has a lot of potential. Backed by a talented internal team and a growing community of open-source contributors, the library is definitely poised for significant development. I'm excited to see what new features and functionalities get included in upcoming releases!
This is my first technical article! 🥳
I would greatly appreciate any constructive feedback you may have. Feel free to share your thoughts! If you found this helpful and are interested in more Google Maps-related content, I'm happy to write on other features or components. In the coming weeks, you can also expect more blog articles exploring exciting web technologies I come across. I hope you had a lovely read. 🤍